The next thing to do is to upload a product from GearBubble to Amazon.
Again, I have a PDF walkthrough you can send to your team to follow easily. But for now, learn the process yourself.
This step can be done easily in GearBubble.
Just go to the Dropship Dashboard in GearBubble.
In the main dashboard, click “View Dropship Dashboard”.

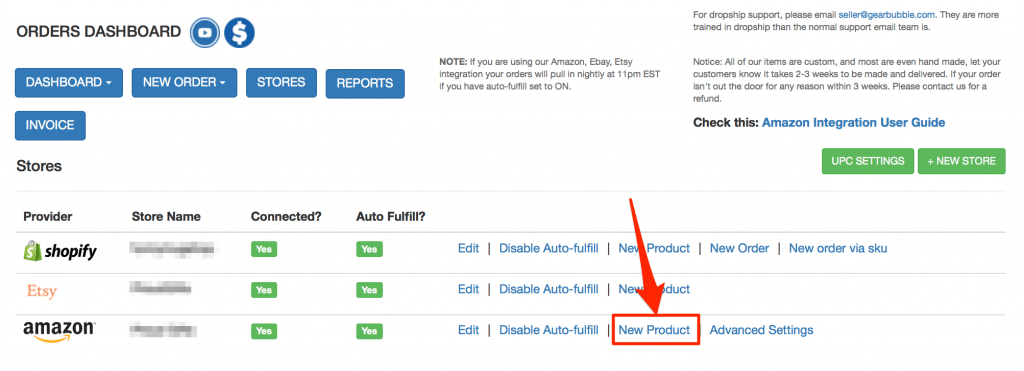
Click “STORE”, then click “New Product” from the Amazon provider. Make sure you have already setup Amazon integration with your GearBubble dropship account. And that you have also uploaded the UPC codes or have a GTIN exemption from Amazon.
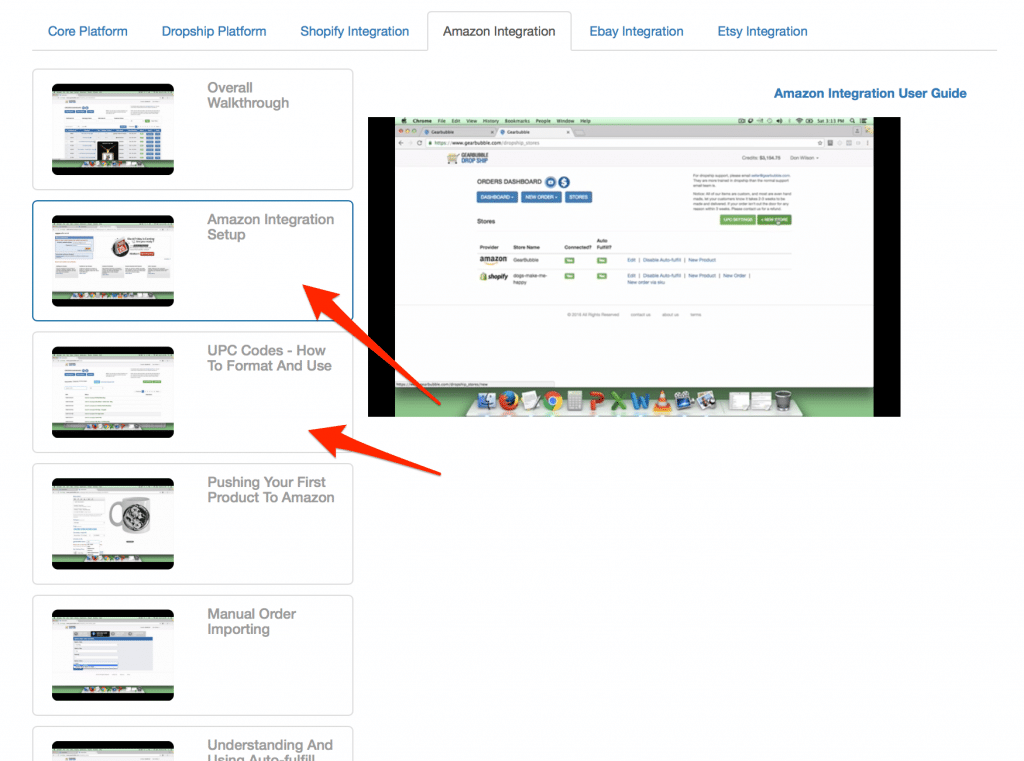
If you haven’t set up Amazon integration with GearBubble yet, go to this link and watch the “Amazon Integration Setup” video.
For the UPC code, it’s in the same link under the menu “UPC Codes - How to Format and Use”.
The recommended place to get UPC codes is nationwidebarcode.com. Make sure you check the coupon code, too, because they often offer discounts.
You will then see the products you created in your GearBubble account here. You just need to click “Upload”, and the product information will be sent to Amazon.
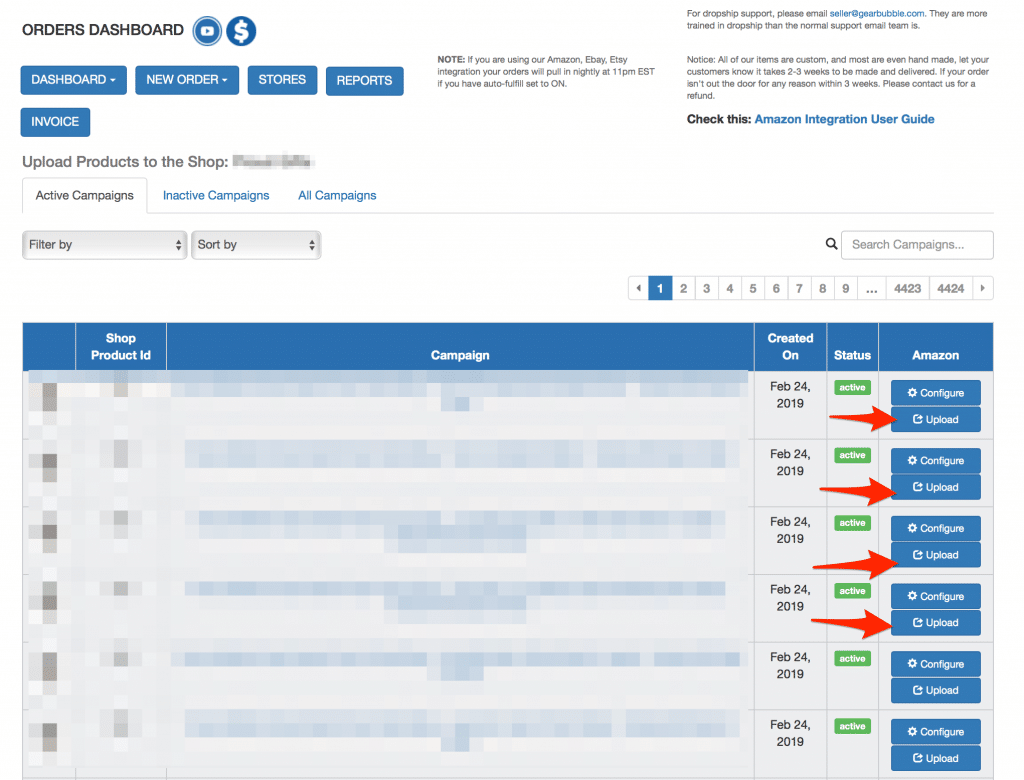
That’s it. Very simple.
But in this process, I recommend that you tell your team not to click “Upload” too quickly, because Amazon may be blocking something in your account and cause a slower upload.
So, click “Upload” for one product, then wait for a few minutes before you click “Upload” again for the next product.
Now, while you’re waiting for the products to upload to Amazon, you can let your team download “Ad Photos” or additional product images to be uploaded to Amazon.
This is optional. You don’t need to do it. But if you do, it “might” help your product rank better on Amazon.
Go to the main dashboard in your GearBubble account. You’ll see “Ad Photo” buttons for every one of your products.
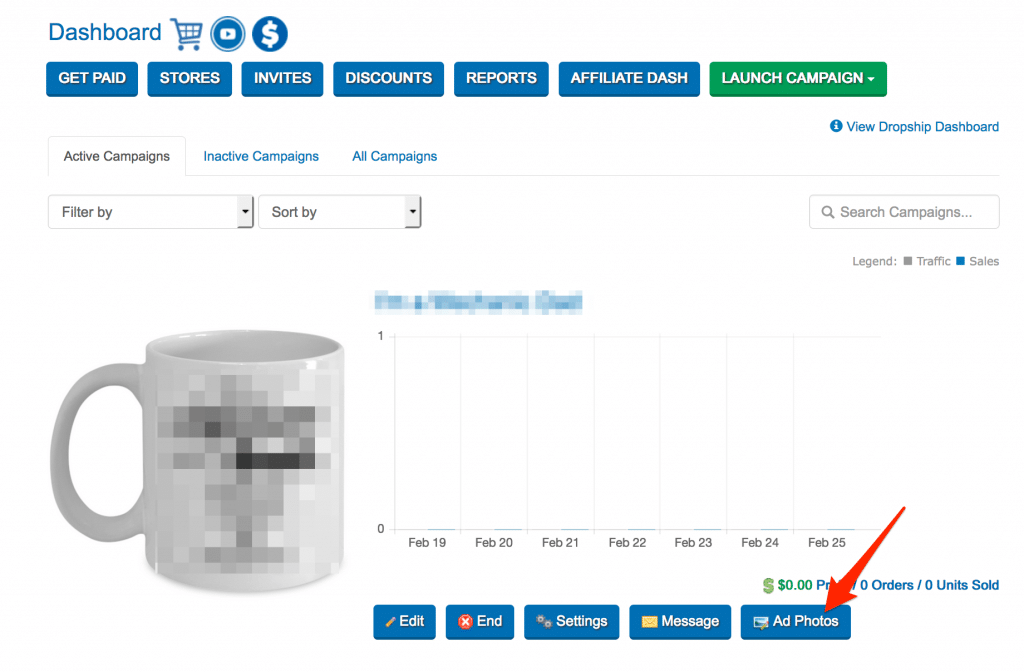
Click that button and select the Ad Photo you want. You can use these photos for each product you have on Amazon.
OK, that’s all you have to do in your GearBubble account.
Next, it’s time to edit some product information in Amazon to get a better ranking.
Go to Amazon Seller Central and log in to the system. Go to “Manage Inventory”.
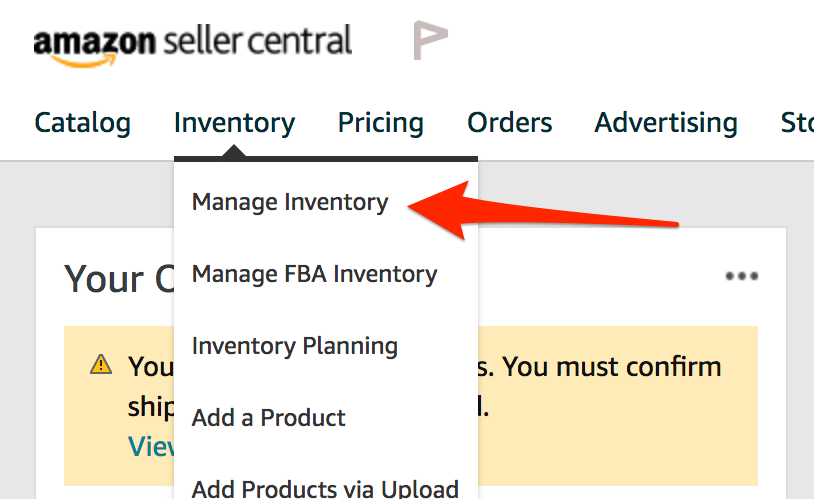
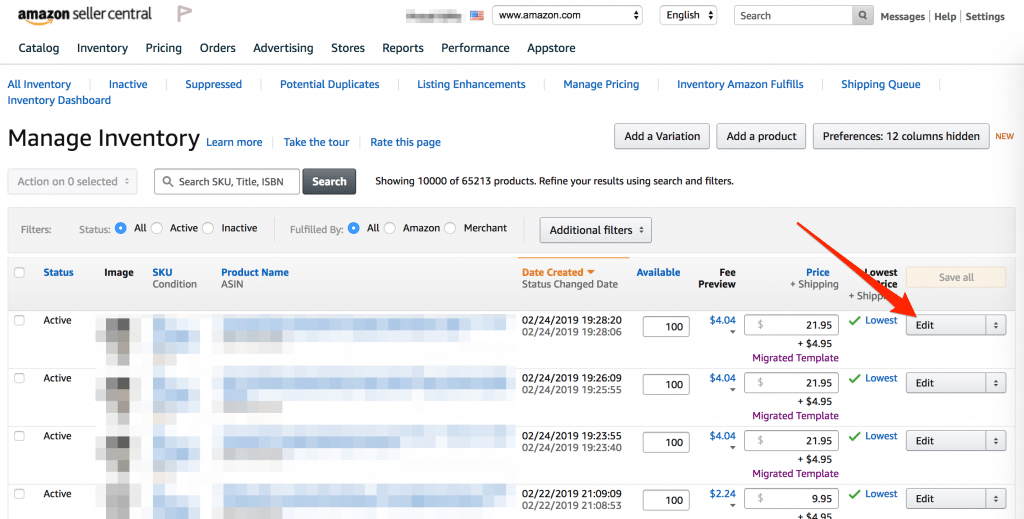
The products you uploaded from GearBubble will be on this page. Next, click “Edit” to edit the product information.
There are four things to edit:
- Product Description
- Product Features
- Keywords
- Product Image (optional)
Make sure you add the main keyword at least once in the description and keyword field.
For example, if your product is an Engineer coffee mug, make sure the word “Engineer” is in Product Features, Product Description, and Keyword.
For the product image, you should upload the additional image you got from the Ad Photos in GearBubble. But this is optional.
Some people say it helps you get a better ranking on Amazon, but I don’t do it. It takes time to do it. I focus on quantity, so I add more images to products if I see it’s getting sales.
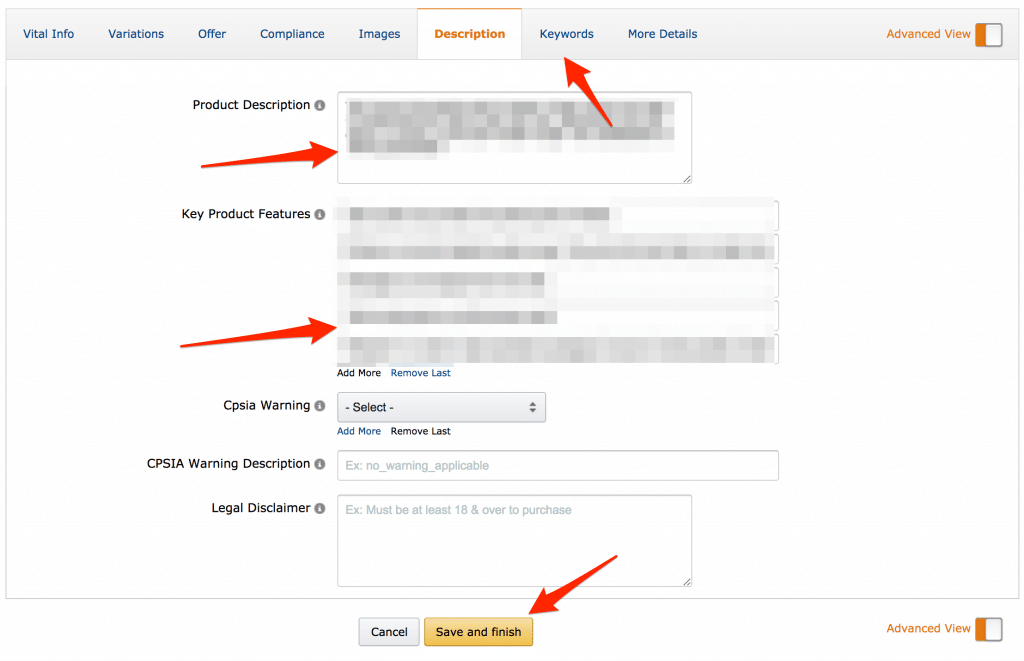
After inserting all the information, click “Save and finish”.
Now, all steps are done.
It’s not that difficult, right? You can hire anyone to do it. In the next module, I’ll show you how to find those people to work for you. Then your entire process will be automated. :)
